Officially released on March 5, 2026, the title “Pokémon Pokopia” brought deep creation mechanics that quickly flooded social media with impressive architectural projects. This constant exposure often creates a feeling of frustration in those just starting out, a common phenomenon in the era of simulation and sandbox games, where comparison can overshadow the fun. However, it is essential to keep in mind that each user’s journey must be enjoyed at their own pace, as trying to speed up the creation of scenarios often results in unnecessary stress.
The smartest tactic for those who want to create incredible spaces is to focus first on the progression of the main campaign, ensuring the unlocking of new creatures, tools and materials. By leaving the aesthetic part for the post-game moment, the user avoids the feeling of limitation and now has a complete arsenal of options. This solid base of resources will be the difference when planning and restructuring the five ecosystems available in the adventure.
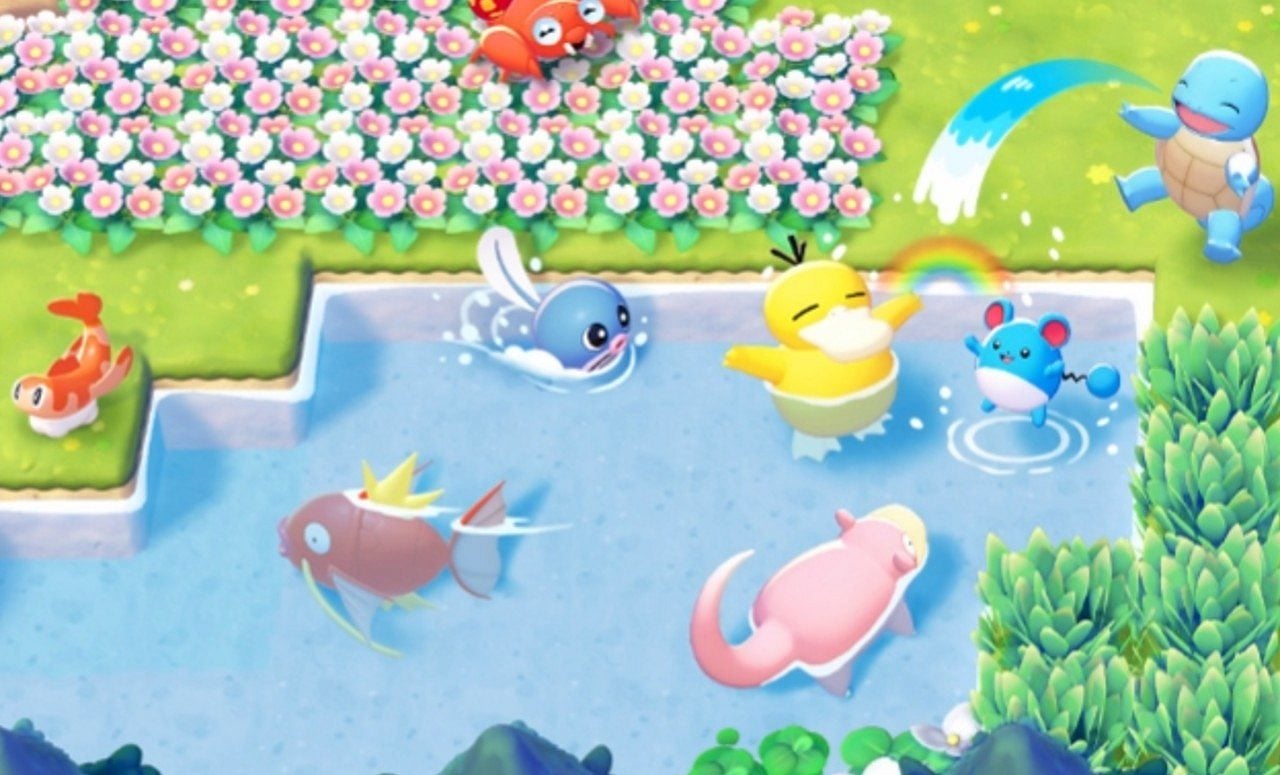
How to secure infinite materials by exploring Dream Islands
In the first few hours of playing, the adventurer has the chance to access a highly effective method of farming supplies through special areas. To enable this trip, you must attract the Drifloon creature in the Wastelands region by setting up three bonfires to establish the “Warm Updraft Habitat” or “Soft Bed Habitat.” When the little monster appears, just give him a decorative plush of classic characters, such as Pikachu or Eevee, to be immediately transported to the secret location.
The exact destination of this quick trip depends on the type of doll offered, with a limit of one daily visit to these instanced territories. During exploration, the player not only finds rare raw materials, such as shells and pieces of wood, but also receives permission to take absolutely any object in the scene, including windows, furniture and even entire pieces of soil. As maps regenerate every 24 hours, this routine becomes an inexhaustible source of building blocks for your future projects.
The power of Magnetic Ascension in the architecture of your map
For those planning to build complex structures, there is an indispensable technique that completely changes the dynamics of spatial planning. This is a special power released only after the completion of the main narrative, requiring the user to complete the Magnemite tasks during the Team Initiation Challenge, located in the Desolate Lands. Considered by the community as the most versatile mechanic in the title, it offers absurd advantages when positioning elements in the scene.
- The ability to levitate while placing objects, which eliminates the difficulty of installing roofs, erecting suspension bridges, or leveling mountainous terrain.
- The function of grouping nine pieces simultaneously to form a massive block, drastically speeding up street paving and the creation of long avenues.
Having access to this set of facilities guarantees enormous creative autonomy, reducing the time spent on repetitive work. Commands that previously required millimeter precision are now executed fluidly, making it possible to execute mega projects without tiring the player.
Multiply your items using Pokémon Center technology
As soon as the first healing station for the little monsters is activated, the system introduces three-dimensional printing machinery that solves the problem of the lack of assembly diagrams. The operation of this equipment is quite intuitive: the user just needs to activate the camera in object mode using the Y button, record the image of the desired furniture and take the digital file to the building’s terminal.
For the machine to materialize the photographed piece, you will need to spend some units of Pokémetal Ingots from your inventory. If the target is a high-rarity artifact, the system will require equally valuable metal bars, which are usually mined on the Island of Celestial Dreams — an area accessed by delivering a Dragonite plush to Drifloon. This technological alternative is perfect for completing decoration collections without relying exclusively on luck or time-consuming missions.
Advantages of using ready-made structures in your base
The housing system in “Pokémon Pokopia” divides housing into two main areas: modular constructions made piece by piece and houses purchased ready-made. While the first option requires the acquisition of masonry kits and allows each wall to be shaped to the architect’s taste, the second category delivers chalets and cabins with immutable facades, sold directly in the computer’s virtual store, leaving only the internal decoration to be the responsibility of the owner.
Game experts strongly recommend investing in closed models due to an extremely advantageous proportion trick. Working with a magical dimensional logic, these residences occupy a few squares on the external map, but house rooms of up to two floors inside. This spatial distortion is the perfect solution for those who need to accommodate dozens of creatures and furniture without compromising the usable area of the outdoor ecosystem.
Visual strategies for managing your storage chests
No matter how much the player invests in improving the backpack, the colossal amount of materials available in the game quickly overloads the character’s pockets. The solution to avoid the mess is to manufacture several chests and establish a central warehouse focused only on logistics, preferably in the Devasted Lands region. Because the fast travel system connects all properties, having a unified warehouse saves hours of walking around looking for lost ore.
To maximize the efficiency of this warehouse, the ideal is to stack the crates up to the ceiling, saving space on the floor. The organization’s big secret, however, is attaching a display board to the front of each trunk and inserting a copy of the item stored inside. If the container holds blocks of volcanic ash, the frame must display exactly that stone, creating a clear visual sign that once and for all eliminates the need to open box by box during a major renovation.
Step-by-step instructions for modeling rivers and waterfalls
Manipulating water resources is one of the adventure’s most striking aesthetic tools, although many users take a while to understand how it works. At first, the only possible interaction involves the water wheels scattered throughout the Wastelands, but true waterscaping depends on unlocking two specific terraforming abilities.
The first stage consists of learning to absorb liquids, a talent taught by the little monster Wooper in the Bleak Beach area, right after the player solves the electricity problem at the request of a Piplup. With the virtual bucket in hand, it becomes feasible to drain and pour water into holes to form artificial lakes. Later, as you explore the Sparkling Celestial Lands, dialogue with the towering Gyarados at the base of a rapid will unlock the gift of carving waterfalls from scratch. The combination of these two techniques delivers the power to design entire watersheds.
As Nintendo’s title tends to hide its more complex systems behind secondary missions, knowing these shortcuts completely changes the user’s relationship with the virtual environment. By applying these collection and structuring methodologies, the barrier of frustration disappears, paving the way for any fan to transform vacant lots into true masterpieces of digital design.